This blog will cover some of introductory concepts around Internet of Things (IoT), its applications, and how to get started with IoT development.
📌 IoT Series (Part 1 of 5): This post is the first entry in our 5-part IoT series. Next up: Part 2: Deeper Dive into Internet of Things (IoT).

Table of contents
Open Table of contents
What is the ‘Internet of Things’ (IOT)?
- The term Internet of Things was first coined by Kevin Ashton in 1999.
- It refers to the network of physical objects or “things” embedded with sensors, software, and other technologies that enable them to connect and exchange data with other devices and systems over the internet.
- Sensors gather information from the world such as measuring speed, temperature, humidity, light or location.
- Actuators convert electrical signals into real-world interactions such as turning on a light, make sounds or sending control signals to hardware.
- IOT as a technology is more than just device - it includes cloud-based services that can process sensor data or send request to actuators to perform actions.
IOT devices
- The T in IOT stands for Things - devices that interact with physical world by gathering data from sensors and providing real-world interactions via actuators.
- They use custom circuit boards, maybe even custom processors designed for specific tasks.
- These developer kits usually fall into two categories:
1. Microcontrollers
A microcontroller (also called MCU - Microcontroller Unit) is a small computer consisting of:
- One or more Central Processing Units (CPUs) - the brain of the microcontroller that runs your program.
- Memory (RAM) - where your program data and variables are stored.
- Programmable input/output (I/O) connections - talk to external devices like sensors, actuators, and other peripherals.
Microcontrollers are designed to be programmed to do a very specific task rather than being general-purpose computers like PCs or Macs. MCU usually come with additional sensors and actuators on board. Some microcontrollers have built-in wireless connectivity such as Bluetooth or Wifi.
Microcontrollers are usually programmed in C/C++.
2. Single-board computers
A single-board computer is a complete computer contained on a single circuit board. They are small, use less power and substaintially cheaper.
The Rasberry Pi is one of the most popular single-board computers.
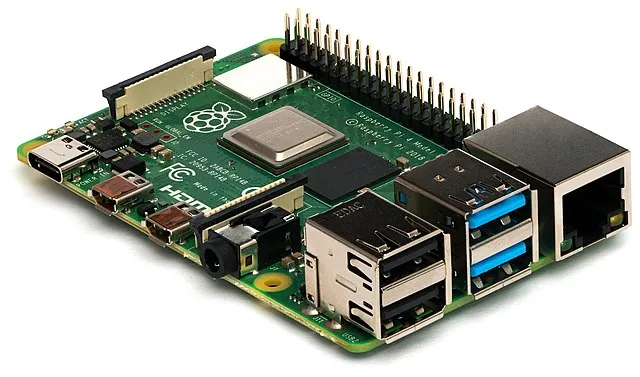
Like a microcontroller, single-board computers have a CPU, memory and I/O connections. But they have additional features like graphics chip allow to connect monitors, audio outputs, USB ports to connect keyboards, mice, webcams, … Programs are stored in SD cards or hard drives along with an operating system.
You can think of a single-board computer as a smaller, cheaper version of PC.
Hardware choices
1. Arduino developer kit
If you are interested in learning Microcontroller Development, you can complete the assignment using an Arduino Device. You will need a basic understanding of C/C++ Programming.
2. Single-board computer developer kit
If you are interested in learning IoT using single-board computers, you can complete assignment using Raspberry Pi or a virtual device running on PC or Mac. You will need a basic understanding of Python Programming.
3. Virtual device
If you use the virtual device option, you will need to code directly on your computer. Instead of accessing sensors and actuators on a physical device, you will use a virtual device to simulate the hardware.
Set up your device
Before you start programming, you will need to do a small amount of setup.
If you don’t have the hardware yet, refer to hardware guide to help device which device you are going to use.
These instructions do include links to third-party websites from the creators of the hardware or tools you will be using. This is to ensure you are always using the most up-to-date instructions for the various tools and hardware.
Virtual single-board computer
Instead of purchasing IoT devices, you can use your computer to simulate IoT hardware.
- The CounterFit allows you to run app locally that simulates hardwares such as sensors and actuators, access devices via local python code that is written the same way as you would write on a Raspberry Pi using physical hardware.
Setup
- Install Python and IDE
- Configure a Python virtual environment
- Create and navigate to a new directory
mkdir nightlight
cd nightlight- Create a virtual environment
python3 -m venv venv- Activate virtual environment
source ./.venv/bin/activate- Download and install the CounterFit package
pip install CounterFit
pip install counterfit-connection
pip install counterfit-shims-grove
Running first CounterFit simulation - Connect the ‘hardware’
- Launch the CounterFit app with the following command:
counterfit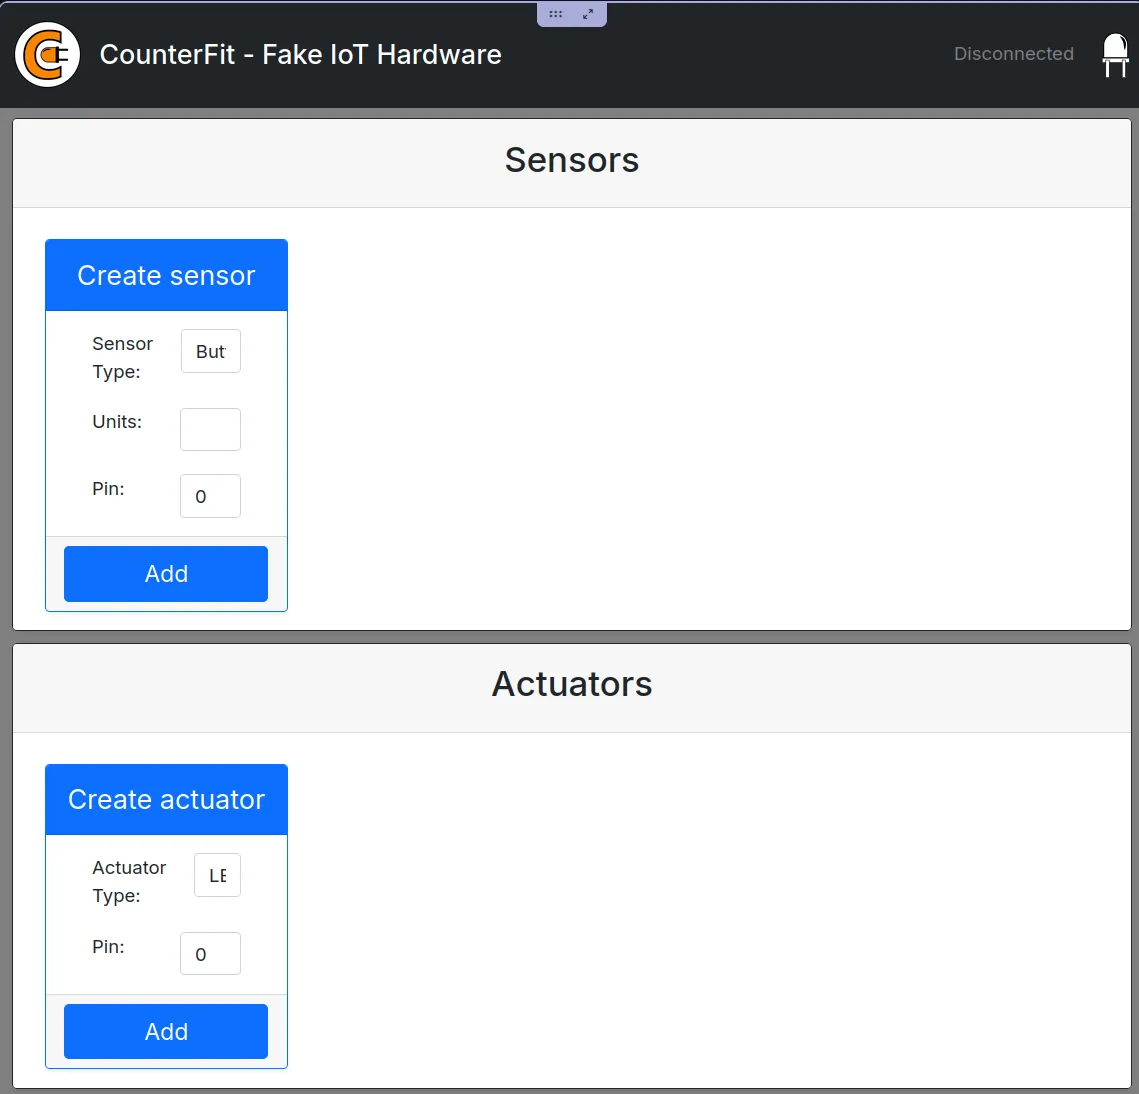
- Add counterfit connection to the code:
from counterfit_connection import CounterFitConnection
CounterFitConnection.init('127.0.0.1', 5000)- Launch your app to a new terminal to connect couterfit simulation:
python app.py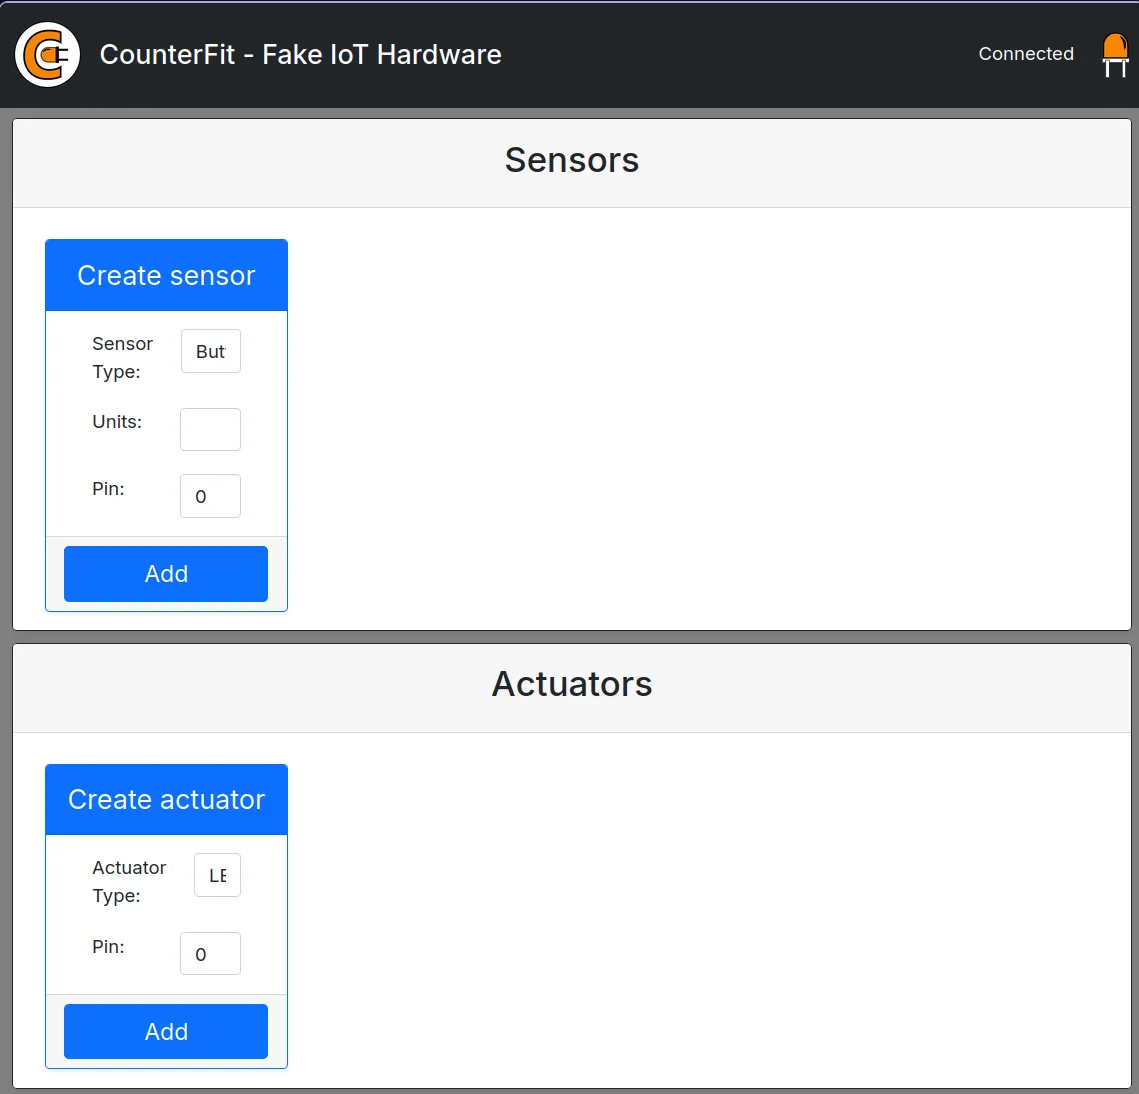
📖 Series Navigation
👉 Continue to Part 2: Deeper Dive into Internet of Things (IoT)