Say goodbye to clunky vendor IDEs! In this guide, we will explore PlatformIO, understand why it is a game-changer for embedded development, and set up your first ESP32 project right inside Neovim.
📌 IoT Series (Part 6 of 6): This is the sixth article in our IoT series.

Table of contents
Open Table of contents
The Embedded Dev Headache 😫
If you have ever tried embedded development, you know the pain:
- Every new board (Arduino, ESP32, STM32, Raspberry Pi Pico) forces you to download a different IDE, toolchain, and driver package.
- Managing external libraries across projects quickly turns into a mess.
- Most vendor IDEs feel stuck in 2005.
That is exactly why PlatformIO was born!
What is PlatformIO? 🚀
PlatformIO is an open-source, cross-platform ecosystem for IoT and embedded development.
💡 Analogy: Think of PlatformIO as npm for JavaScript or Cargo for Rust, but for embedded hardware microcontrollers! It manages your development environment, toolchains, board configurations, and external libraries automatically.
How Does It Work? ⚙️
Building a project with PlatformIO follows a clean, automated workflow:
- Define Your Board: Specify your target hardware in
platformio.ini(e.g.,board = esp32dev). - Auto-Fetch Dependencies: PlatformIO automatically downloads the exact C/C++ compilers, SDKs, frameworks, and libraries required.
- Build & Upload: With a single command, PlatformIO compiles your code and flashes it straight to your microcontroller!
Setting Up PlatformIO in Neovim 🛠️
For Neovim enthusiasts, you do not need to leave your editor! We can use nvim-platformio.lua for a seamless setup.
1. Prerequisites
Make sure Python and PlatformIO Core are installed on your system:
pip install platformio2. Install the Neovim Plugin
Add nvim-platformio.lua to your Neovim plugin manager (e.g., lazy.nvim):
return {
  'anurag3301/nvim-platformio.lua',
  dependencies = {
    { 'akinsho/toggleterm.nvim' },
    { 'nvim-lua/plenary.nvim' },
    { 'folke/which-key.nvim' },
    { 'nvim-treesitter/nvim-treesitter' },

    -- Choose your preferred picker (Telescope, Snacks, or Mini.Pick)
    { 'nvim-telescope/telescope.nvim' },
    { 'nvim-telescope/telescope-ui-select.nvim' },
  },
}
Initializing Your First Project 🎯
Step 1: Trigger Project Setup
Run the :Pioinit command in Neovim to start the project initialization wizard:

Step 2: Select Your Microcontroller Board
Search and select your board (for example, ESP32 Dev Module):
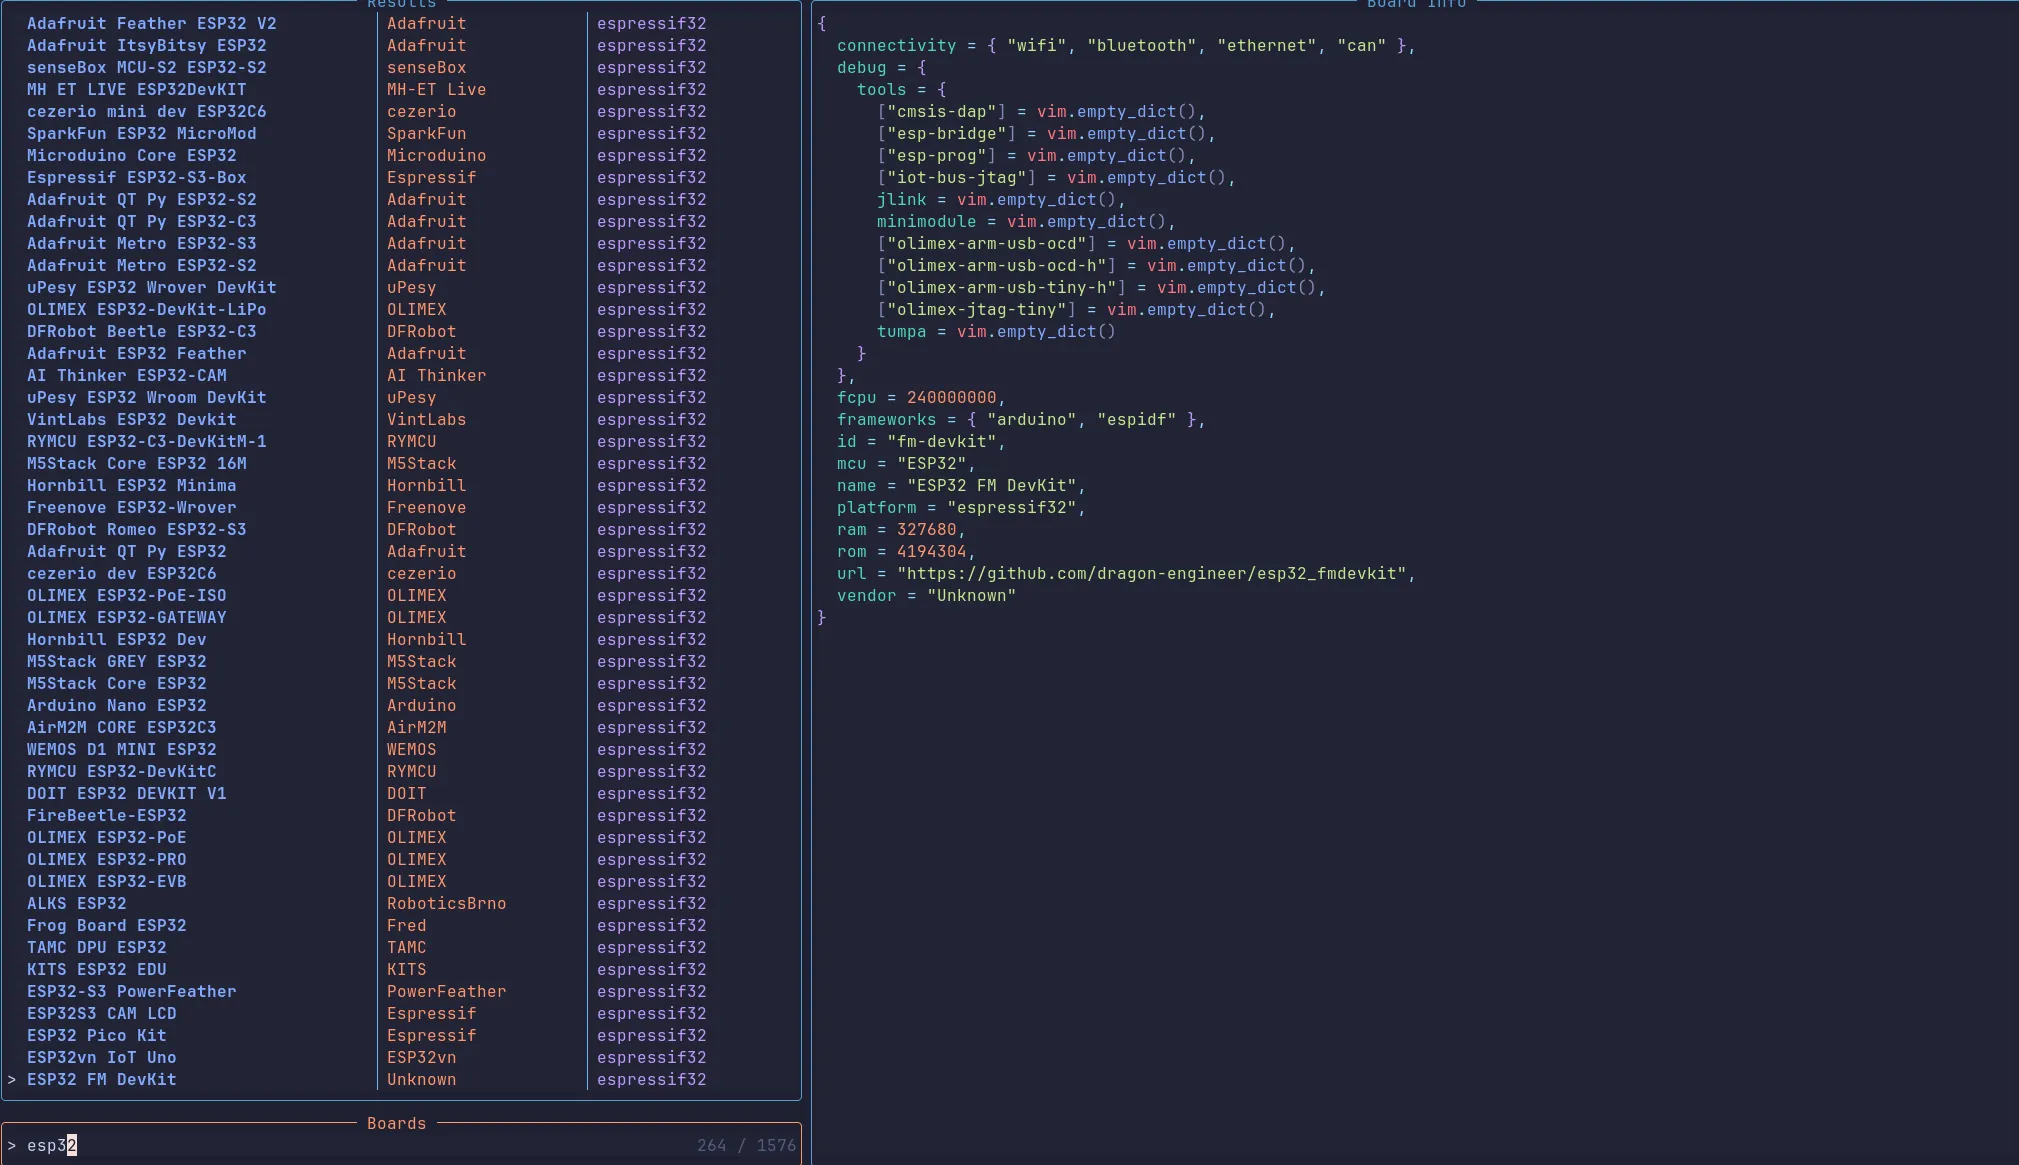
The picker displays board specifications, RAM/Flash sizes, and capabilities on the side. You can also manually tweak platformio.ini later to adjust baud rates or add external libraries!
Step 3: Explore the Generated Project Structure
Once initialized, PlatformIO generates a clean workspace structure:
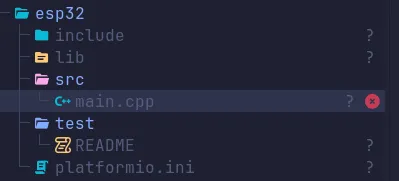
Key directories & files:
platformio.ini: The core project configuration file (defines board, framework, libraries).src/main.cpp: Your main C++ entry point containingsetup()andloop().lib/: Put your project-specific custom C/C++ libraries here.
Super clean and easy setup! Now you are ready to write code and flash your ESP32 effortlessly. 🎉
Writing Your First “Hello World” App 💻
Open src/main.cpp and paste this simple starter code:
#include <Arduino.h>

#ifndef LED_BUILTIN
#define LED_BUILTIN
#endif

void setup() {
    Serial.begin(9600);
}

void loop() {
    Serial.println("Hello, ESP32!");
    delay(1000);
}
💡 Quick Code Breakdown:
#include <Arduino.h>: Core header bringing Arduino functions (Serial,delay) to C++ in PlatformIO.setup(): Executes once on boot to initialize serial communication at9600baud rate.loop(): Runs continuously in a loop aftersetup(). It prints"Hello, ESP32!"to the serial port every1000ms(1 second).
⚠️ Baud Rate Matching Rule: The baud rate set in your code (Serial.begin(9600)) MUST match the baud rate of your Serial Monitor! If they do not match (or if you use an unstandard rate like 9500), you will receive garbled text/symbols (?#@!) due to clock timing misalignment.
You can also specify the monitor baud rate in platformio.ini:
monitor_speed = 9600PlatformIO Neovim’s plugin Commands 📝
The nvim-platformio.lua plugin provides convenient commands and an interactive popup menu that wrap standard PlatformIO Core (CLI) commands:
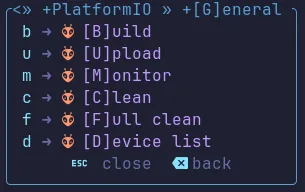
🔄 The Standard Embedded Dev Workflow
When developing microcontroller firmware, you follow this 3-step loop:
- Build Code: Compile your C++ code to verify there are no syntax or compilation errors.
- Upload Firmware: Flash the compiled binary onto your microcontroller via USB.
- Monitor Output: Open the serial terminal to view
Serial.println()output and debug live runtime logs.
⚡ General Plugin Commands & CLI Wrappers
| Plugin Action | Purpose / Description | Underlying CLI Wrapper |
|---|---|---|
| Build | Compiles project environments and verifies code | pio run |
| Upload | Compiles & flashes firmware directly to device | pio run --target upload |
| Monitor | Opens live serial monitor to read device output | pio device monitor |
| Clean | Removes compiled object files to free cache | pio run --target clean |
| Full Clean | Wipes all build artifacts and cached dependencies | pio run -t fullclean |
| Device List | Scans and lists active connected serial ports | pio device list |
📦 Dedicated Neovim Plugin Commands
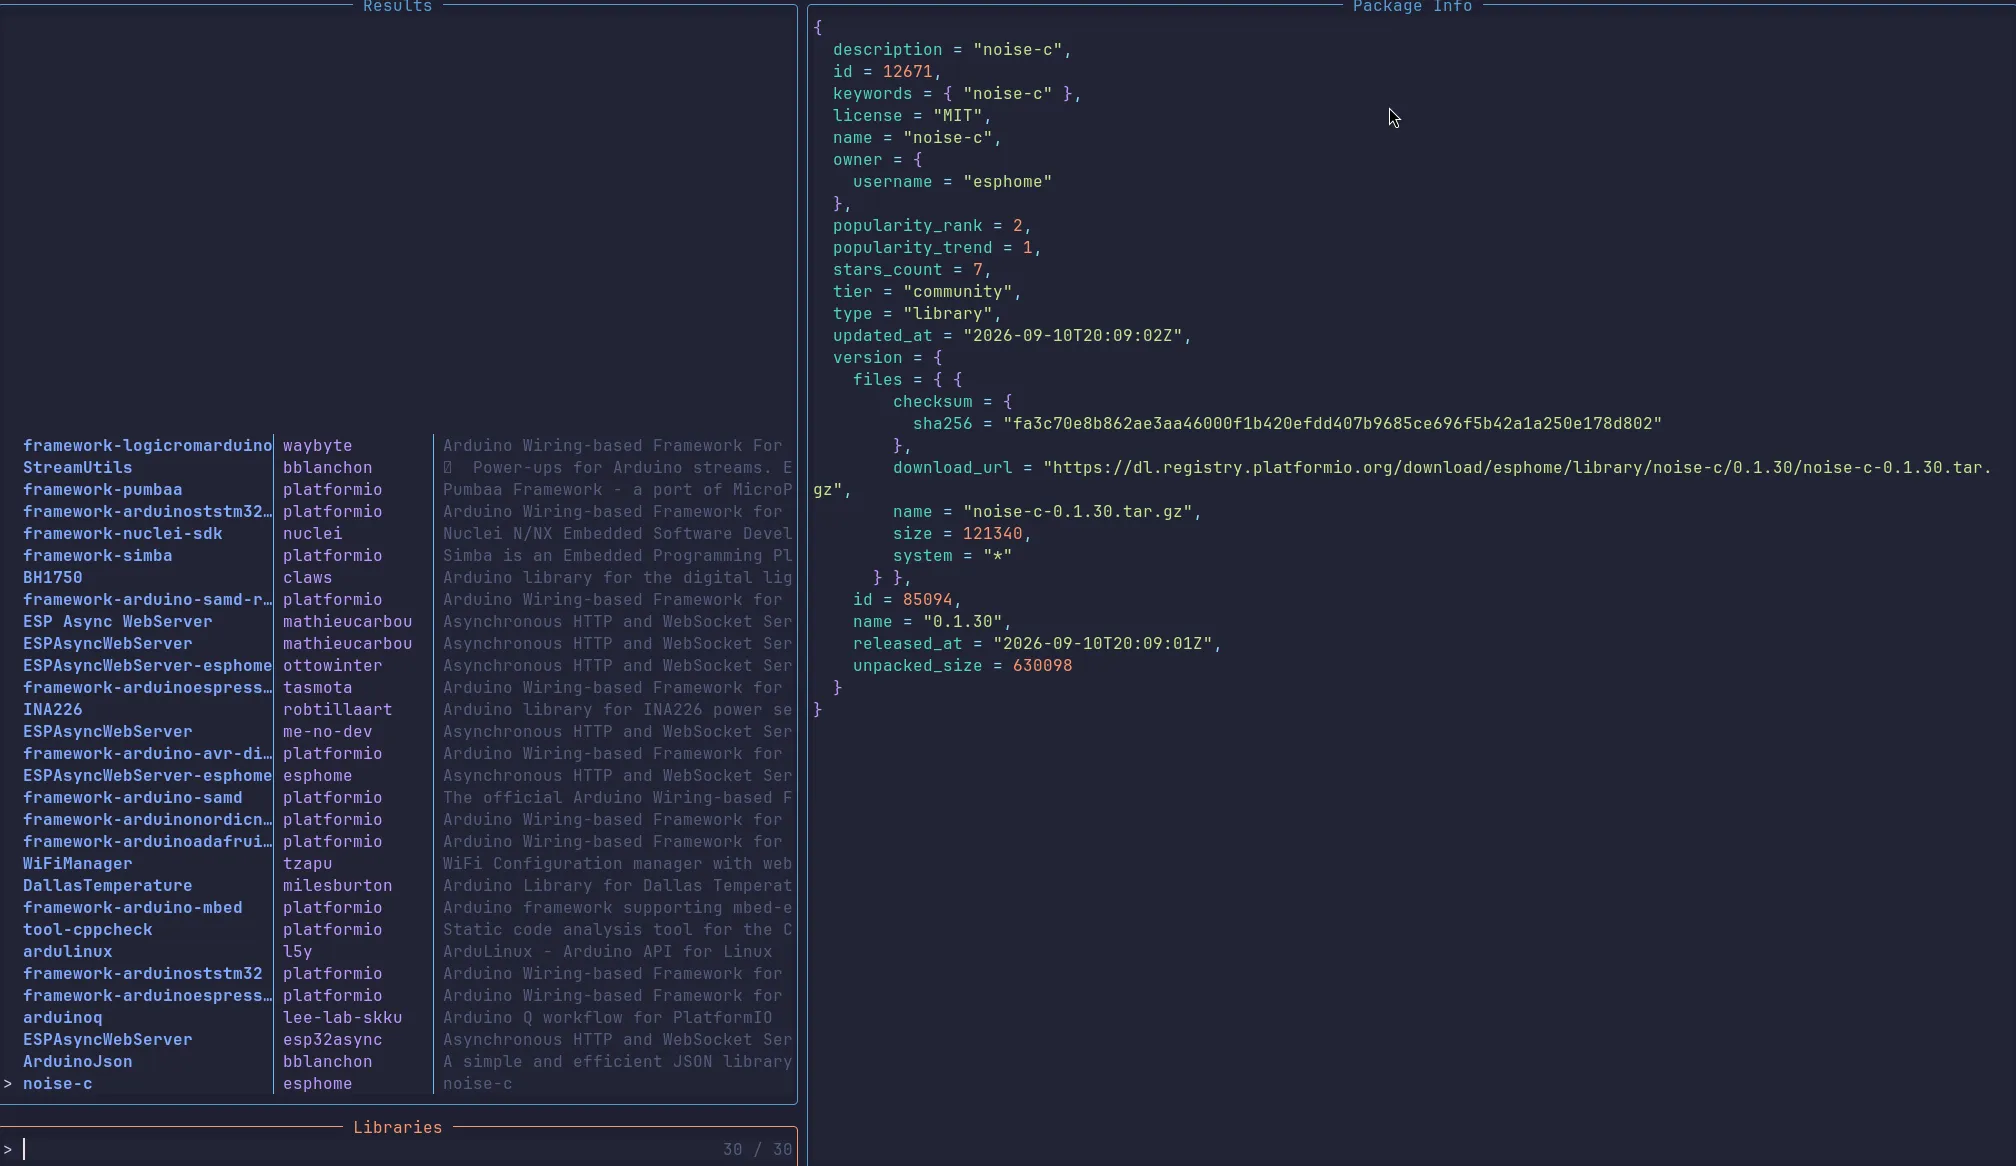
1. :Piolib — Library Manager
- CLI Wrapper:
pio pkg search/pio pkg install - Purpose: Search and manage C/C++ libraries from the PlatformIO registry directly within Neovim.
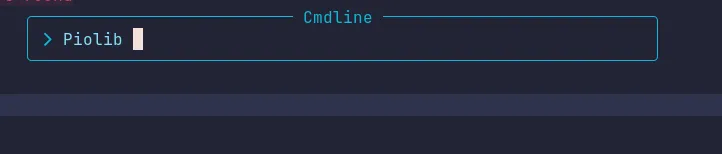
Selecting a library displays its info, dependencies, and lets you add it straight to your platformio.ini:
2. :Piolsserial — List Serial Ports 🔌
- CLI Wrapper:
pio device list - Purpose: Scans and lists all connected hardware serial ports (
COMxor/dev/ttyUSB*//dev/ttyACM*).

Output of active serial devices connected to your computer:

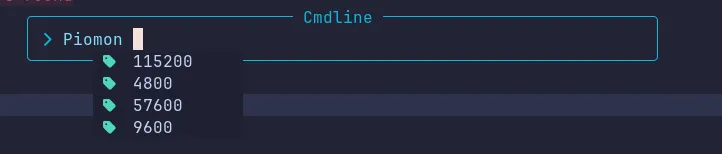
3. :Piomon — Live Serial Monitor 📺
- CLI Wrapper:
pio device monitor - Purpose: Opens a live serial monitor window inside Neovim to view
Serial.println()output and debug logs from your hardware in real time.
Essential PlatformIO CLI Commands ⚡
PlatformIO Core provides the pio run command to process, build, and flash your projects:
# Build all environments defined in platformio.ini
pio run

# Build and flash firmware to all connected devices
pio run --target upload

# Clean build artifacts (delete compiled objects)
pio run --target clean

# Build & upload for a specific board environment only (e.g. esp32dev)
pio run -e esp32dev -t upload
📖 Series Navigation
👈 Back to Part 5: Overview of Physical Works in IoT
🏠 Return to Part 1: Introduction to Internet of Things (IoT)